Turmeric is a very important ingredient in many Asian and Indian households. It is used as fresh rhizhomes or as turmeric powder. Turmeric has a lot of anti inflammatory properties and is added to almost all the dishes in traditional Indian cuisine.
Turmeric powder has a longer shelf life than rhizhomes. I'm sharing a quick video on How to make turmeric powder from rhizhomes harvested from the garden. We grow turmeric every year and process the rhizhomes to make organic turmeric powder for our kitchen.
Showing posts with label Homemade Basics. Show all posts
Showing posts with label Homemade Basics. Show all posts
Friday, December 9, 2022
Friday, April 24, 2020
Bread dough🍞

It can be tweaked according to your taste by adding other flavours like carrot, tomato, spinach, garlic or Italian herbs. The flavour combinations are endless when you experiment with various ingredients.
Ingredients
2 1/2 cups whole wheat flour
1/2 cup all-purpose flour
1 tbsp yeast
1-1 1/2 cups warm milk
1 tsp sugar
Salt to taste
Olive oil as required
Method
Add yeast and sugar to the warm milk.
*Make sure that the milk is Not Hot.
Touch the milk to analyze the temperature of milk. If your finger burns, the milk is too hot. Hot milk will kill the yeast.
After adding the yeast, stir and wait for the yeast to be activated. The yeast mixture will be frothy if the yeast is active. If this mixture doesn't become frothy, either the yeast has expired or the temperature of the milk was too hot. In that case, discard and start again.
If the yeast is active and has turned frothy, you can use this to make the dough.

Add the flour and salt to a mixing bowl. Mix the ingredients together and add the yeast mixture.
Make a soft and sticky dough and knead this dough for about 5 minutes.
Smear the dough with some oil and cover the dough with a moist cloth or cling wrap for an hour in a warm place.
After an hour, check to see if the dough has risen and doubled in size. Punch out the air and knead again.
The dough will rise again in 45 minutes to 1 hr.
Knead this dough one more time.
Let it rise again after placing it in the bread pan.
You can do this in 2 ways:
1) After kneading the dough for the 2nd time, shape the dough like a bread loaf and place it in a greased bread pan.
Cover this with a moist cloth and allow to rise.
Once risen, bake in a preheated 200°c oven for 30-40 minutes until the crust is golden brown.

Or
2) Flatten the dough after kneading, smear with some oil and herbs. Wrap it up to form the shape of a loaf of bread and place it in the pan.
Cover this with a moist cloth and allow to rise.

Once risen, bake in a preheated 200°c oven for 30-40 minutes until the crust is golden brown.
Enjoy homemade bread with a smear of butter.
Wednesday, December 11, 2019
Ghee (Traditional Method)

Homemade Ghee...also known as clarified butter. It's used mostly in Indian and Middle Eastern cooking. Cooking traditional dishes with ghee enhances the aroma and flavor of the dish. Though ghee is readily available in the market, my mother always made fresh ghee at home. This is something that I learnt from her and have realized that homemade Ghee is truly special and more rich and flavorful than store bought ghee.
I had earlier shared an easy method of making Ghee on this blog.
https://tastebuds1.blogspot.com/2010/03/ghee.html
In the easy method, store bought butter was used to make the ghee.
Today, Im sharing the traditional method used by my mother and grandmother to make ghee at home regularly for years. I have been using this method and though its a little time consuming and a bit messy, the end result is totally worth it !!!
Skim off the cream from boiled milk and place it in an airtight container. On the 1st day, add some plain curd/yoghurt to this cream and let this sit at room temperature for 8-10 hrs.
NOTE: The yoghurt is to be added only on the 1st day.
 |
| Cream on boiled milk |
From the following day, add skimmed cream to the container everyday till it gets filled. Keep this container in the freezer. It takes about 2 weeks for my container to get filled.
Once the container is full, remove it from the freezer and keep it at room temperature to thaw for about 3-4 hrs.
Add this cream in batches to your blender and churn out the butter from the cream. Separate the butter from the buttermilk and add the butter to a thick bottomed deep-dished pan.

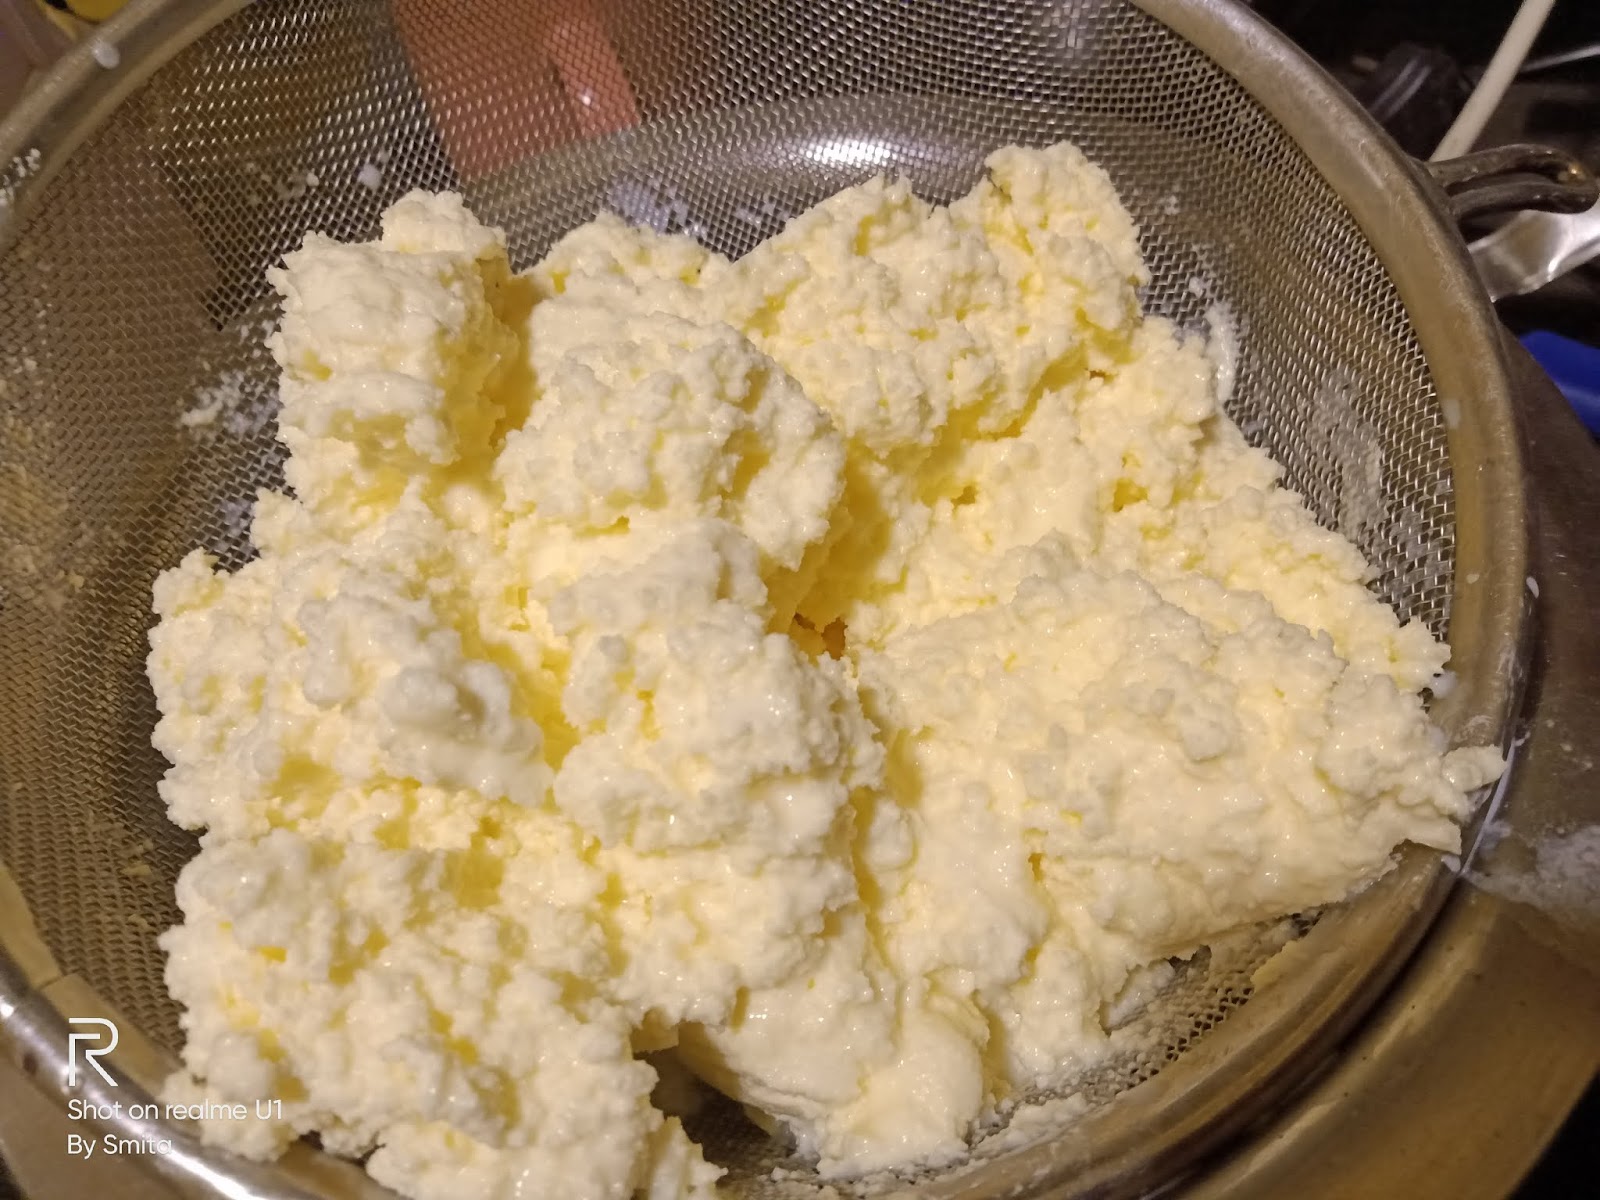
A thick layer forms as the butter starts cooking. As it cooks, the foamy layer will reduce and you will see the golden layer of ghee at the bottom of the pan.
Once the milk solids turn brown, the ghee is ready. Let it cool for a few minutes.
 |
| Ghee |
Using a tea strainer, strain the ghee from the milk solids into a clean dry bottle/container.
As the ghee cools, it will solidify.
Store in the refrigerator for longer shelf life.
Enjoy with hot rice or roti and paratha
Wednesday, July 4, 2012
Storing left-over ingredients
I buy canned coconut milk & tomato puree often. But once opened, the problem is how to store them. If stored in the refrigerator, it has to be used up quickly. But many times the need to use these ingredients in your recipe doesn't happen often. When these ingredients are left in the refrigerator for more than week, they develop a kind of fungal growth & have to be discarded.
So, I started emptying out the contents (after using the required amount in one recipe) into a freezer bag & popping them into the freezer after sealing it tightly. But there was still 1 problem. It would freeze solid into one bid lump & it would be almost impossible to get portion sizes out of it.
Coming to the reason behind this post, I was trying to figure out what to do - every time I wanted only part of the coconut milk or tomato puree to add to a recipe, I would have to break the one big frozen lump into pieces with a rolling pin. Sounds crazy??? Yes, that's what I've been doing all these days/months/years!!!
To freeze them into individual portions - Pour your ingredient (coconut milk, tomato puree, pasta sauce or any other liquid ingredient that would have to be frozen to have a longer shelf life) into ice cube trays & freeze them overnight. Once frozen, carefully un-mold them from the tray & transfer these pieces into freezer bags.
Every time you need single portions to add to your favorite recipe, just remove it from the freezer bag & add them to your recipe.

Hope this helps with a lot of "freeze-thaw" problems!!
 Linked to Gayathri's Kitchen Basics
So, I started emptying out the contents (after using the required amount in one recipe) into a freezer bag & popping them into the freezer after sealing it tightly. But there was still 1 problem. It would freeze solid into one bid lump & it would be almost impossible to get portion sizes out of it.
Coming to the reason behind this post, I was trying to figure out what to do - every time I wanted only part of the coconut milk or tomato puree to add to a recipe, I would have to break the one big frozen lump into pieces with a rolling pin. Sounds crazy??? Yes, that's what I've been doing all these days/months/years!!!
 |
To freeze them into individual portions - Pour your ingredient (coconut milk, tomato puree, pasta sauce or any other liquid ingredient that would have to be frozen to have a longer shelf life) into ice cube trays & freeze them overnight. Once frozen, carefully un-mold them from the tray & transfer these pieces into freezer bags.
Every time you need single portions to add to your favorite recipe, just remove it from the freezer bag & add them to your recipe.

Hope this helps with a lot of "freeze-thaw" problems!!
Linked to Gayathri's Kitchen Basics
Thursday, March 4, 2010
Ghee (Easy Method)

In my school & college days I used to see my mother remove a layer of cream (paada) from boiled, cooled milk & store it in a container in the freezer. After the container was full after collecting the cream for several days, she used the thaw the frozen cream for a few hrs at room temperature. Then whip the cream in a blender. This would separate the butter from a watery liquid. This butter would be cooked in a heavy bottom kadai till it turns from golden yellow to golden brown. And that's how ghee was made at home.
My process is a little simpler. I use store bought Unsalted Butter to make ghee at home.
You will need 1 pk of unsalted butter (approx 500gms)

Cook on medium heat. When the butter has melted, cook stirring occassionally.


Continue to cook stirring occassionally. The foamy layer will reduce & you will see clear golden liquid on the bottom.

Slowly the golden yellow liquid will turn light goden brown & the foamy layer will change into light brown milk solids.

Turn off the heat now. There may be a thin layer of foam,but that's ok.

Let it cool for a few mins. Strain with a tea strainer & pour it into a clean, dry bottle.

As the ghee cools, it will solidify.

Store in the refrigerator for longer shelf life.
Linked to Gayathri's Kitchen Basics
Friday, January 4, 2002
Pizza Base

Ingredients
1 cup all purpose flour/wheat flour
1 pkt active dry yeast
salt to taste
1 tsp sugar
Method
Dissolve yeast & sugar in 1/2 cup of warm water. Allow to activate for 10 mins.
Take flour in a bowl,add salt to taste.
Add warm water with yeast & knead to form a soft dough.
Set aside for an hr.
When the dough rises, knead again & set aside for another hour. Then the dough is ready to use.
Linked to Gayathri's Kitchen BasicsThursday, January 3, 2002
Yoghurt
Ingredients
2 cups milk (whole or skimmed)
2 tsp plain yoghurt
Method
Boil milk in a pan. When it boils, turn off the heat. Pour into a bowl.
Add 2 tsp plain yoghurt & mix well.
Place in an oven overnight with the oven light turned on.(The oven light will keep the oven warm & help the yoghurt set faster.)
The yoghurt will be ready by morning.
Wednesday, January 2, 2002
Homemade Paneer

5 cups whole milk
2 tsp vinegar or lemon juice
Method
Boil milk in a pan. When it is boiling , add the vinegar. Continue to cook till the milk curdles completely.
Strain using a fine strainer or cheesecloth. When the water is completely drained, transfer into a container, shape into a block & store in the refridgerator.
Stays fresh for upto a week.
Subscribe to:
Comments (Atom)
